If you’ve ever been to a bar, to a store or to a party – the chances are that you’ve seen and probably tried a vodka drink. It’s a classic spirit that is used in shooters, cocktails and sometimes in alcoholic foods like desserts.
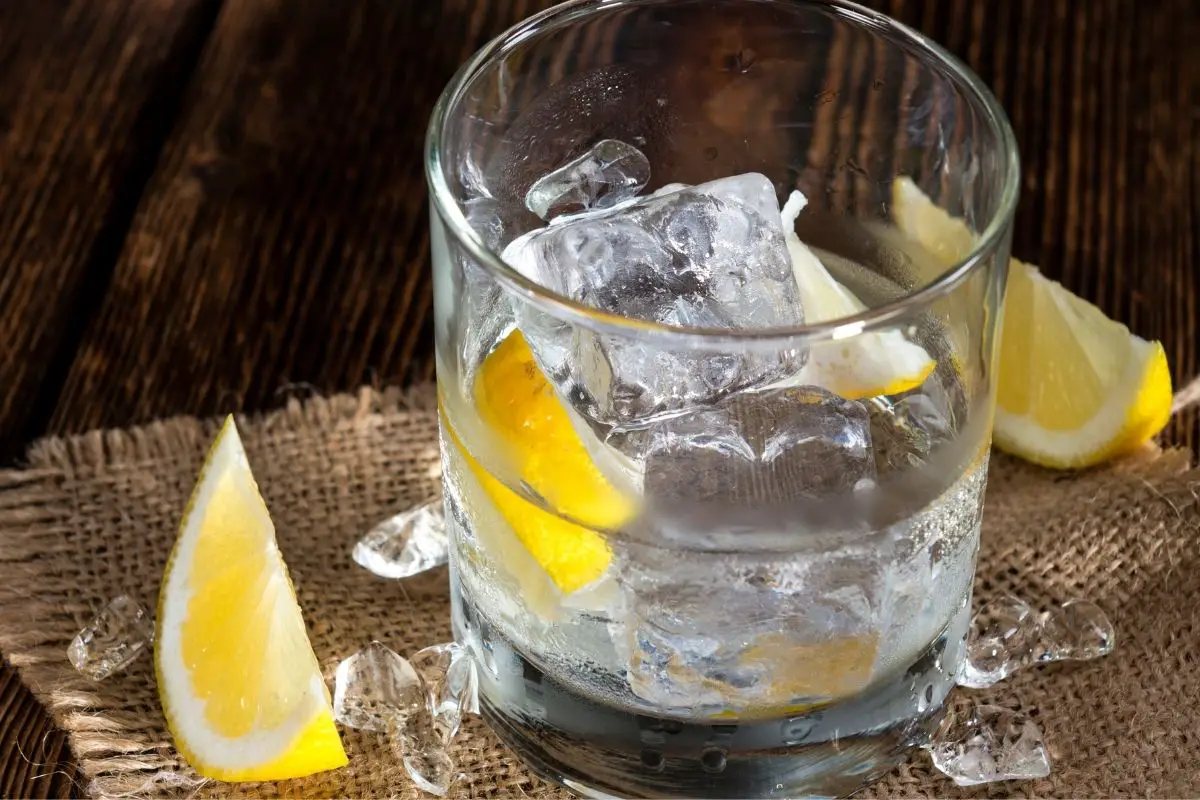
The thing is with these sorts of drinks, we’ve seen them and experienced them so often that we often overlook the process of how they get to us in the first place.
This guide will examine all of this. We’ll look at a brief history of vodka and how you can make it. So, grab yourself a drink and get comfortable – let’s get into it.
Where Did Vodka Come From?
Vodka has been produced for centuries, in fact it’s been around 700 years. Originally, it wasn’t as alcoholically potent as we know it today.
The vodka drink is very well known among Russia and Poland, but it is made all over the world nowadays. If you can get the mash and recipe right, anybody can make good quality vodka.
Speaking of mash, there are numerous mash types that you can choose from. These include:
- Corn
- Potato
- Rye
- Beets
- Wheat
- Molasses
What most people will be more familiar with though, and the ingredient that is much easier to find are potatoes – so for the purposes of this guide, we’re going to look at how you can make vodka using a mash from potatoes.
The Potato Mash Recipe
Not to be confused with mashed potatoes! This recipe includes getting yourself:
- Water (around 7oz)
- Potatoes (25lbs)
- Crushed, malted barley (5lbs)
- A long spoon
- Heat thermometer
- A source of heat
- A mash pot
It’s now essential that you understand how to create your mash and how the process works. Here’s our step-by-step guide on how to create your mash.
You will need to:
- Remove any outstanding dirt from your potatoes with a clean, hard brush and water
- Slice your potatoes into small, manageable cubes
- Boil some water and place the potatoes into the boiling pot for around 20 minutes in the water (7oz)
- Either by using a blender or by hand, mash your potatoes
- Put the now mashed potatoes into your mash pot and add the water to fill the volume
- Increase your heat to 140 degrees Fahrenheit and continue stirring to prevent sticking
- Add all of your barley and remember to keep stirring
- Keep the mash at the heat and continue to stir every 4 minutes or so
- Increase the temperature further to 152 degrees Fahrenheit
- Hold this temperature for another hour and keep stirring
- Add some sugar if your gravity reading is under 1.065
- Cool the mash down to 75 degrees Fahrenheit and then cool the mixture overnight
Fermentation
Next up is the fermentation process which is critical in any alcohol making system. You will need the following items:
- A bucket for fermentation
- Some yeast
- A siphon
- Some citric acid
- A hydrometer
- A cheesecloth
Now you can begin the fermentation process by going by this step-by-step guide. You need to first create a yeast starter, and you do this by:
- Cleaning a mason jar (basic is fine)
- Using water warmed to 110 degrees Fahrenheit, pour this into your now clean mason jar
- Add sugar to the mix, about two tablespoons is correct and ensure you are thoroughly mixing it and stirring it
- Add your yeast to the batch
- Stir all of this thoroughly
- Let the mix settle and calm. The overall volume of the mix will increase by double its original size
You will now need to move the mash’s liquid into the bucket – it’s essential that this is only the liquid, so by using a strainer or something similar, you should get the desired effect. You’ll want to get some “splash” with the mixture so that it can aerate enough to properly function.
You can now add your yeast starter to this mixture in the fermentation bucket. For the next two weeks, you’ll need to add more ferment mixture and airlock.
If you’re particularly advanced in this process, you will know that you can use iodine to check if the mixture is properly fermented. By taking a sample of the mixture and placing it onto a clear, white plate – you can add a few drops of iodine.
When starch is present, a reaction will occur, and you will see a blue color. This means that the mixture is not currently ready to go and will need to be left for a few more days at least.
You may also wish to check the ABV by using a hydrometer – but this is for much more advanced vodka makers!
After you’ve completed this process, you need to properly strain your mix, and then it’s onto the distilling phase of the vodka!
Distillation
For this part of the process, you will need to have:
- A still
- Your fermented mash water
- Packing
- Some cleaning items
At this stage of the process, you now have some “vodka” but it won’t be exactly desirable. You will need to remove the bad stuff from the good stuff and here’s how you can achieve that.
First, you’ll need to have a spotless still. There’s no use in using a dirty still as it will affect the finished product and likely ruin your batch.
Let this clean still sit for a while and then thoroughly blast water through it. You need to ensure it has been dried using something that will not leave residue.
Once you’ve fired up the still to the correct temperature, you must now let the mixture settle. Once that has been done, you will have the correct liquid, but you will need to remove any impurities. This can be achieved by dividing the mix into thirds.
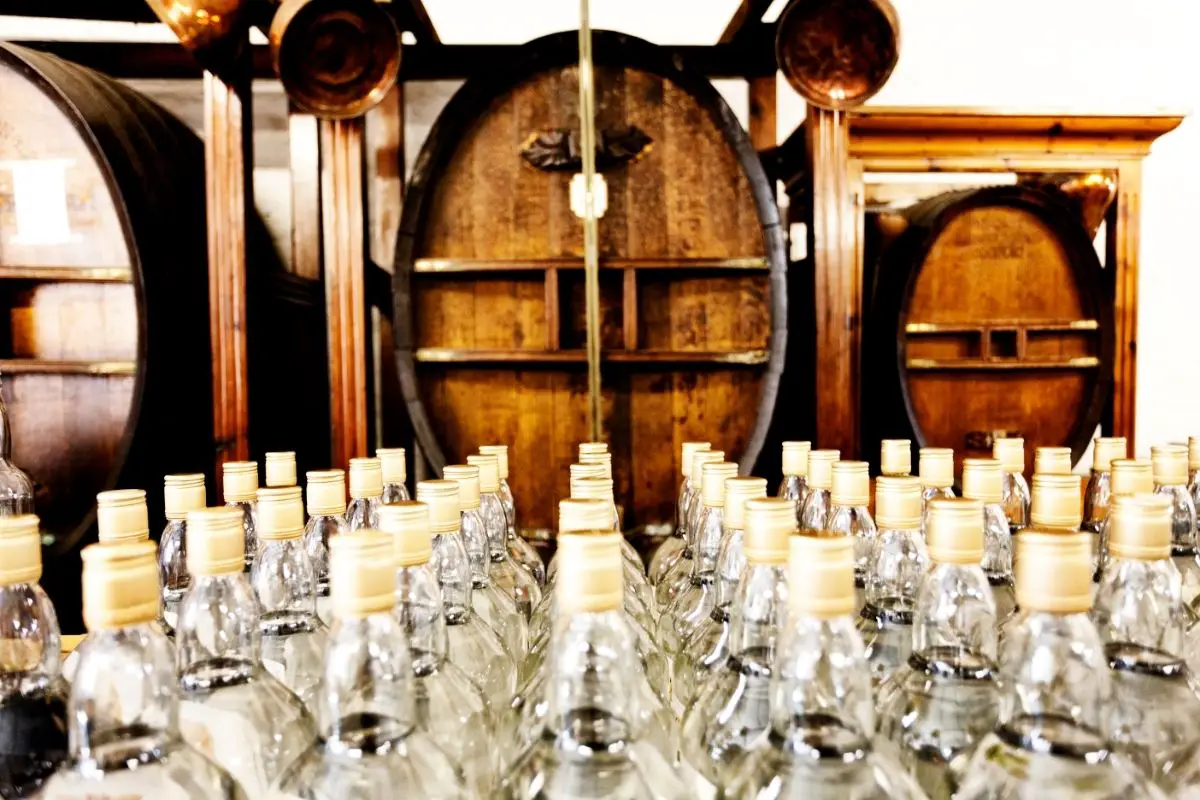
These thirds are top, middle and tail. The middle is the section you will be using for pure vodka – all that’s left is to bottle it!
Conclusion
With the right know-how and following the correct distillation process, ensuring the correct type of yeast used, and the alcohol content is just right – you can make a fantastic batch of vodka!

Thus, Still Cooker was born. When I first decided that I wanted to study myself up on the consumption business, I found it so difficult to source reliable information. I had to spend all day searching for one topic on how beer was made.
As you can imagine, it was a tireless job and I came close to giving up more than once. This is the exact reason that spurred me to create this website - so that you can enjoy the ease of having all of this knowledge in one place.
I hope you’ll be able to learn as much as you want just from my website. As it grows bigger, I want it to be a single stop on your path to greatness. So, enjoy my content and try not to get drawn into a rabbit hole of how to make your own bar inventory.
- Vevor Still Instructions - June 12, 2023
- Best Proofing Parrots For Home Distilling - February 1, 2023
- What Is A Porter Beer? - June 12, 2022